Part 1.


Part. 2

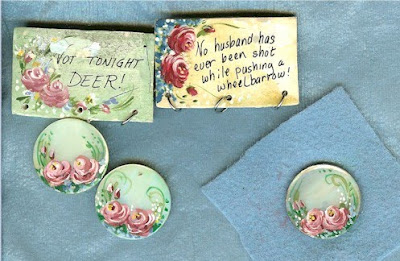
 These are examples of some rose buttons I painted and also some rejects of pins I used to paint. I included them because I wanted you to look closely and see all the dots (especially white dots) I added at the end... These dots add light and interest to the composition..
When you're done, spray your button with about 6 thin coats of a clear acrylic coating. I use Kryon's Crystal Clear. Then I put a little "Antique Gold" Rub n Buff on the edge of the button for a finishing touch. If I'm going to bead around the button I do it BEFORE I trim the felt. If you're not going to bead just trim the felt very close and taper cut under edge of button....
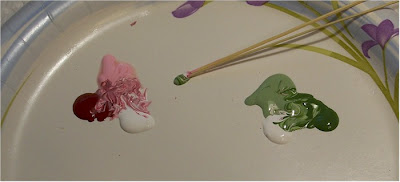
Remember blob...nub/knot....and concentric lines!!!!
Just keep going around the nub and build your rose and remember to keep dipping in different parts of your "streaky puddle."
If you try this please give me feedback so I can make necessary changes to the tutorial before I finalize it... Thanks... Gerry


.jpg)

5 comments:
What lovely little buttons!
Thank you Gerry.
You have been most generous in sharing your talent and knowledge with us. You are a very appreciated blogger.
Excellent tutorial. You have a wonderful eye, and such a creative spirit!
Have my buttons, have my brushes, don't have them prepped yet. Don't have the spackle to fill the holes. Do you think toothpaste would work? That's what I always used to fill nail holes in walls!
Found some more old large buttons at the thrift store yesterday too.
And, for a long time I've had some old buttons in a tin - dark blue mother of pearl looking on a metal shank. I don't think those would be good to use though because the beautiful color of that blue would get covered over with that prepping business...right?
Cathy L
This tutorial is AMAZING, Thank you so much!
I am not painting buttons, was just looking for a good tutorial to paint roses and love this. Your instructions and pictures were so easy to follow and made my attempt to paint roses a lot simpler than I expected! :)
You can see my painting here http://sugarsweetstitches.blogspot.co.uk/2013/03/getting-ready.html if you are interested in how they turned out :)
Emily xx
Post a Comment