

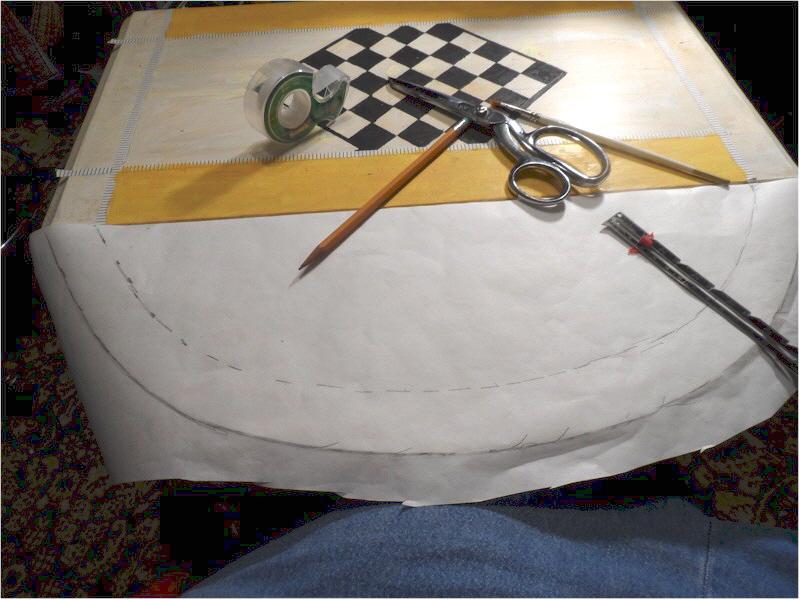
 I wanted to put a row of checks around that curve and was not sure how to do it. So I cut a piece of freezer paper to fit that shape and used a hem gauge to mark the height of the checked row... so far so good. I do actually use freezer paper occasionally to put things in the freezer but not as often as I use it to make patterns...
I fiddled a bit with the hem gauge until I got the width of the checks so that they came out fairly even.


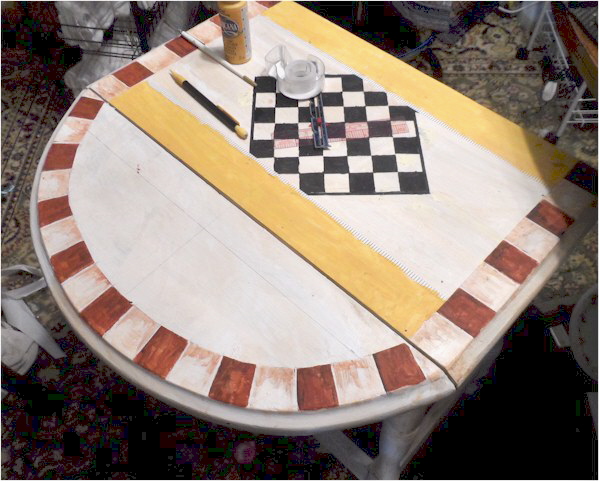
First I was using blue painter's tape to mask but it was lifting the primer and then I started using quilter's "Tiger Tape" and it is working quite well.
this is going to be such a transformation and can see you are enjoying the process
ReplyDeleteLooking good!
ReplyDeleteI can hardly wait to see it finished. Love it so far.
ReplyDeleteI love that saying!! And what would we ever do without freezer paper (tissue paper too).
ReplyDeleteGreat saying! Love your table so far.
ReplyDelete